Fit and Sizing
Patternmaking, Grading and Size Sets for Staff Uniforms
How to turn a good sample into a dependable size range, collect staff feedback and approve fit before bulk cutting.
A uniform can match the approved colour and logo yet fail when employees put it on. Fit problems often become visible when a single sample is expanded into a full size range. Patternmaking, grading and size set approval address different parts of that challenge. Understanding the distinction helps a buyer arrange useful trials, collect meaningful feedback and avoid relying on size labels alone. The objective is a range that suits the intended staff population.
01
Separate body measurements from garment measurements
Body measurements describe the person. Finished garment measurements describe the clothing, including the room allowed for movement and the intended silhouette. A chest dimension on a size chart is ambiguous unless the chart states which of these it represents. A flat garment width is also different from a full circumference, so the measurement method matters as much as the number.
ISO 8559-1 provides definitions and guidance for body measurements used in clothing development. For a buying team, this supports a simple rule: use one documented method throughout the project. Ask the supplier to show where each garment dimension is taken. Confirm units and whether the garment is measured relaxed. Do not compare an employee's body circumference directly with a laid-flat half-chest value, or infer fit from the letter printed on a familiar retail shirt.
Further reading: ISO 8559-1: Anthropometric Definitions for Body Measurement ↗
02
Develop and approve the base pattern
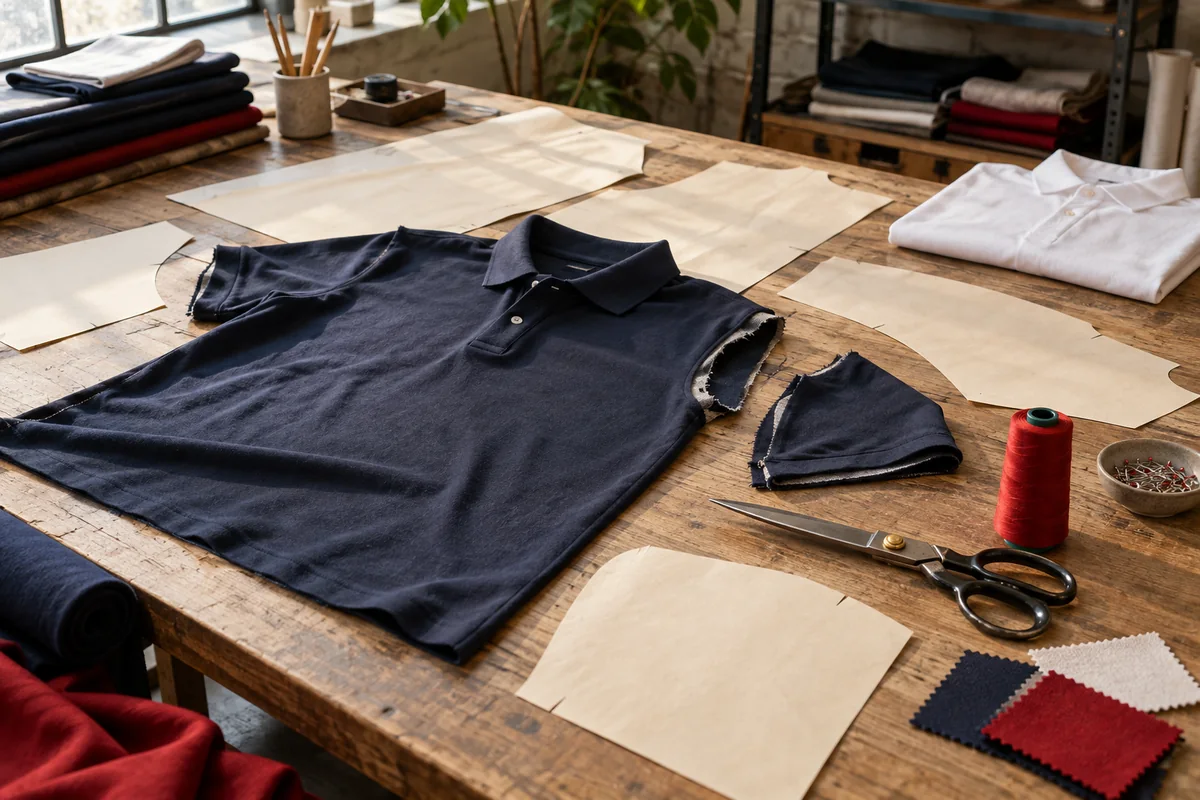
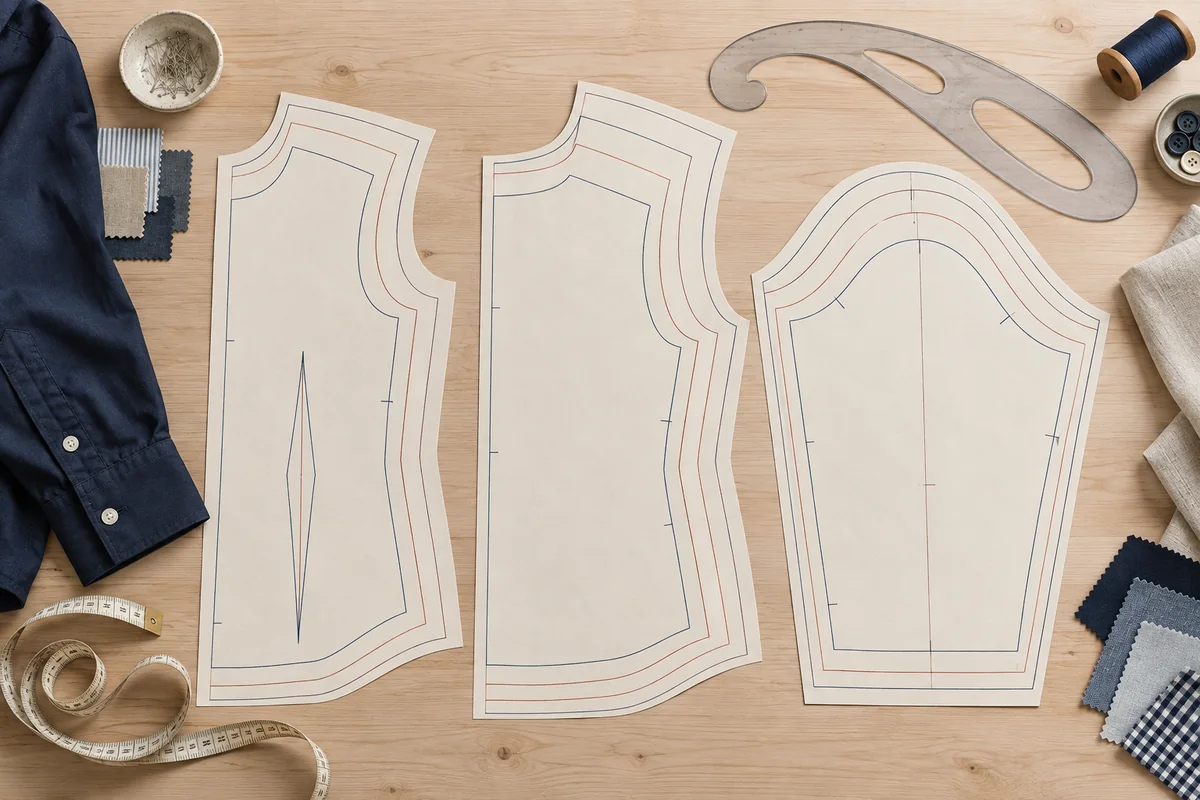
A pattern provides the shapes used to cut the garment components. The base size is the starting point for developing the style and resolving its intended fit. NIMI's training material distinguishes pattern development from grading, which expands a sample size into additional sizes using a specification or increments. A problem in the starting shape deserves attention before that shape is carried through the range.
Ask the sample wearer to perform movements that resemble the job. For a formal shirt, these might include sitting at a desk and reaching forward. Record the collar, shoulder, sleeve and body observations separately. If the fit changes, request a revised sample or other agreed verification. Keep the development record clear so that an early prototype is not confused with the approved base used for the production size range.
Further reading: NIMI: Fashion Design and Technology, Patternmaking and Grading ↗
03
Understand what grading can and cannot resolve
Grading changes a pattern into other sizes while preserving the intended design relationship. It is more deliberate than adding an equal strip around every edge. A garment has several dimensions that must work together, and the specification controls how the range progresses. NIMI describes manual and computer methods for this process; the existence of software does not replace the need to approve the underlying size information.
Avoid asking the supplier to make every size simply bigger without identifying what needs to change. If a larger sample has an uncomfortable sleeve but ample body room, record those as separate findings. A wider body alone may not address the concern. Ask whether the proposed size range requires further fit development, and agree how the revised sizes will be checked before cutting begins.
Further reading: NIMI: Fashion Design and Technology, Patternmaking and Grading ↗
04
Use a size set to inspect the range
A size set is a group of samples used to evaluate sizes beyond the initial development garment. Agree which sizes it includes, what materials it uses and which questions remain open. A trial concentrated only around the middle of the range gives limited evidence about the smallest and largest garments. Plan coverage according to the actual staff requirements and the uncertainty in the fit.
In a hypothetical order spanning extra small through three extra large, the purchasing team might request checks at both ends as well as a central size. This is an illustrative planning choice, not a universal sampling rule. Inspect measurements and appearance, then collect wearer feedback where possible. Check that collar, pocket and logo proportions remain suitable. A size can meet its listed dimensions and still need a design review for the intended wearer.
- 01Measure
Use consistent body and garment measurement definitions.
- 02Base fit
Resolve the starting sample and intended silhouette.
- 03Grade
Develop the required range from approved size information.
- 04Size set
Check dimensions, movement and proportions across the range.
- 05Care check
Reassess important fit points after the agreed routine.
- 06Quantity lock
Collect staff quantities against the final chart.
05
Run a staff trial that produces useful evidence
Give participants the same short instructions and enough time to assess normal movement. Ask them to identify where the garment feels tight, loose, short or long. Distinguish comfort from personal style preference: an employee may prefer a relaxed silhouette even when the garment allows the required movement. Both observations can matter, but they should not be combined into a single unexplained score.
Keep employee identities out of general supplier discussions when they are unnecessary. Consolidate feedback by size and issue, using anonymised observations or garment photographs with permission. In a hypothetical trial, several comments about the upper sleeve in one size deserve a different response from one person's preference for a longer hem. Look for patterns in the feedback, then ask for a specific adjustment and a clear way to verify it.
06
Agree tolerances without turning them into extra sizes
A tolerance states the permitted variation around a specified measurement. It should not become a substitute for choosing the right size or approving the correct pattern. Ask which dimensions are especially important for the garment and how they will be measured during checking. A useful tolerance discussion recognises the material and construction while preserving the intended fit.
As a hypothetical illustration, a shirt specified at a certain chest width might allow a small agreed variation around that target. The target still defines the garment; the tolerance does not authorise routinely making one size resemble the next. Record the actual numeric limits in the order rather than copying an unexplained standard table. If different measurements require different limits, make the distinction explicit. That way, receipt checks can identify a real deviation instead of generating arguments about measurement technique.
07
Recheck the size decision after care
Fit approval should recognise the way the uniform will be maintained. A garment that fits before washing may feel different afterwards. Arrange a care trial using the intended instructions, and repeat the important measurements consistently. AATCC lists a specific method for garment dimensional changes after home laundering, showing why evaluating the complete article is distinct from inspecting the original pattern.
Record the sample identity, routine and observations so that a later reviewer understands what was tested. If care results lead to a revised garment, repeat the affected fit check rather than assuming that an adjustment will preserve everything else. Avoid asking staff to compensate for an unresolved fit problem by guessing a larger size. The size chart should describe an approved product, with the care expectations communicated clearly when garments are issued.
Further reading: AATCC: Standard Test Methods and Procedures ↗
08
Freeze the range and make ordering straightforward
Once fit is approved, collect quantities against the final size chart. State the chart version on the ordering sheet and close superseded forms. Give staff access to the approved samples where practical, and keep spare stock quantities separate from named allocations. This reduces the chance that a late spreadsheet edit is mistaken for a technical change to the garment.
Retain the final measurement chart, sample identifiers and fit decisions for new starters and reorders. When enquiring about Sungrace formal shirts or polos, send that information through the bulk route and ask how the proposed product maps to your requirements. Confirm any difference from a previous garment before collecting staff sizes. Clear size communication makes the order easier to distribute and gives the supplier a concrete basis for investigating any garment that does not match the agreed range.
Sources and further reading
Technical references used for this guide. Confirm the specification and testing appropriate to your garment and order.