Manufacturing
The Garment Manufacturing Process: From Brief to Delivery
A practical guide to the approvals, samples, production checks and delivery details behind a successful uniform order.
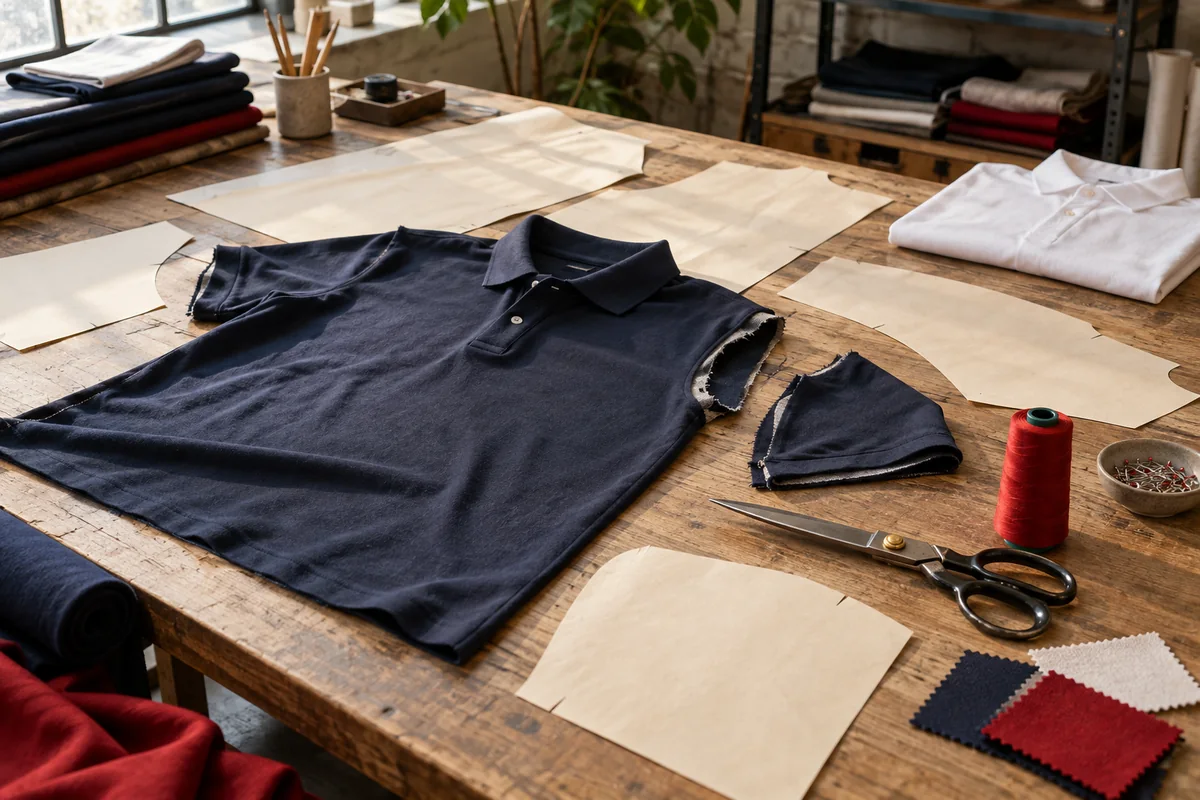
A garment order starts taking shape long before fabric reaches a sewing machine. For a business buying staff uniforms, the important decisions concern what people need to wear, how the garment should fit, and which details must stay consistent across the order. Understanding the garment manufacturing process helps a buyer ask better questions and recognise where an approval matters. This guide follows a typical cut and sew order from the first brief to distribution, with practical controls that a purchasing team can use at each stage.
01
Start with the job the garment must do
Describe the working day before choosing a style. An office reception shirt, a delivery team polo and an event volunteer T-shirt have different demands. Record the climate, movement, dress code, washing arrangements and expected frequency of wear. Explain whether staff tuck the garment in, wear it under another layer or need a pocket for a specific item. These details give the supplier a useful starting point.
Build the commercial brief around quantities by style, colour and size, required delivery locations, artwork and the date when clothing will actually be issued. Separate essential requirements from preferences. In a hypothetical order for a conference team, consistent colour and easy identification might matter more than a particular button design. A written priority list makes later cost decisions easier to resolve.
02
Turn the brief into an approval record
The specification should describe the garment clearly enough that two people can inspect it using the same reference. Include fabric composition, construction, target weight where relevant, colour reference, finished measurements, measurement method, trims and decoration placement. A sketch helps show details such as sleeve length or a side vent, but it should accompany written dimensions rather than replace them.
Assign a version and date to the specification. Keep questions and revisions in one record, then identify who can approve changes. If one department requests a larger logo while another approves a sample with the original artwork, production can receive conflicting instructions. Ask the supplier to flag substitutions before using them. Even a small change in a collar component deserves review when it affects the agreed appearance.
- 01Brief
Agree wearer needs, quantities and priorities.
- 02Specification
Record materials, measurements and artwork.
- 03Samples
Approve fit, appearance and care performance.
- 04Production
Release the correct version and review early pieces.
- 05Final check
Compare finished garments with the approved reference.
- 06Delivery
Reconcile packing lists and retain reorder records.
03
Use samples to answer specific questions
Treat sampling as a sequence of decisions. An early sample can test silhouette and construction; a later sample using the intended materials can confirm the combination that will be ordered. Name the question each sample is meant to answer so that an attractive prototype does not accidentally become approval for untested fabric or decoration.
National Instructional Media Institute training describes preproduction work as including samples, fabric and trim sourcing, decoration development, and approvals. For buyers, the practical lesson is to approve the complete specification rather than a photograph alone. Keep an identified reference sample where possible. Write down acceptable corrections, request evidence that they were made, and distinguish provisional approval from final release. A short approval note is more useful than a message saying only that the sample looks good.
Further reading: NIMI: Fashion Design and Technology training ↗
04
Settle fit and size quantities before cutting
An approved medium does not establish the fit of every other size. Ask how the size range will be checked and arrange a wearer trial covering the people who will use it. Compare the garment with the measurement chart and assess ordinary movements: reaching forward, sitting and raising the arms. Collect specific observations such as a tight upper sleeve instead of simply recording that a shirt feels wrong.
Confirm the final size breakdown before production is released. In a hypothetical order of two hundred polos, changing fifty pieces from small to extra large after cutting can affect material requirements and scheduling. Nominate one person to consolidate staff responses. Record any spare stock separately so that intended replacement garments are not mistaken for duplicate entries in the employee list.
05
Check fabric and prepare the cut
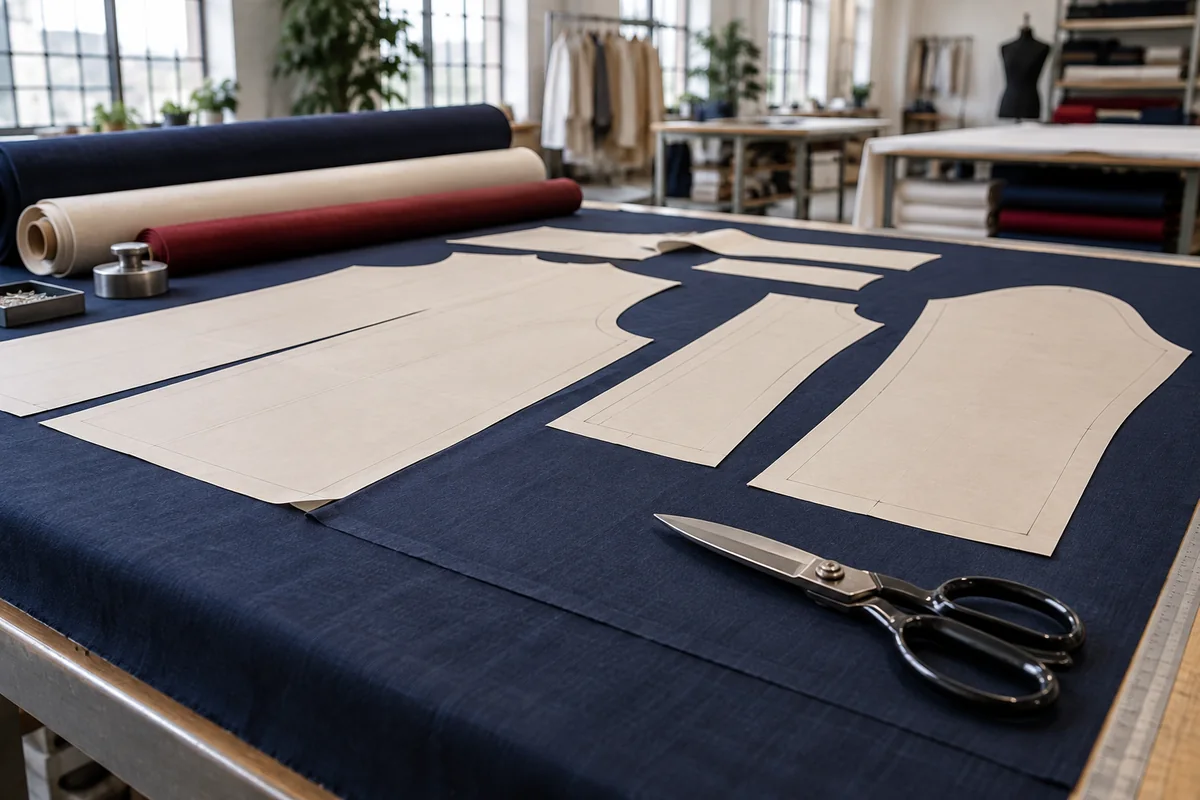
Before cutting, the production team needs approved material and the correct pattern version. Fabric inspection and cutting preparation are linked: visible faults, usable width and shade grouping can influence where pattern pieces are placed. A marker is a layout of those pieces across the available fabric. Lectra's marking documentation explains that the layout is arranged to use material effectively within defined constraints.
As a buyer, request confirmation of material identity and approval status rather than asking for the highest possible utilisation figure. An efficient layout still needs to preserve the intended direction and appearance of the garment. Ask how panels remain associated during assembly, particularly when several fabric rolls are used. This question is useful for pale corporate shirts, where a mismatched sleeve may be more noticeable than a small sewing irregularity.
Further reading: Lectra Gerber: Overview of Easy Marking ↗
06
Make sewing quality visible during production
Assembly turns the cut panels and components into the garment. The useful buyer question is when emerging defects will be noticed. Reviewing an early production piece can reveal a crooked pocket, uneven collar or unsuitable logo position before the same issue appears across the whole order. Agree which features matter most and provide a clear reference for their appearance.
Seam puckering deserves attention because its causes can include tension, fabric feeding and differences in component behaviour. Coats' technical guidance explains why blaming thread alone can miss the underlying problem. Buyers do not need to prescribe machine settings; they should ask for a corrected sample and check it again after the agreed care procedure. Good communication describes the defect and desired result while allowing the technical team to choose the appropriate correction.
Further reading: Coats: Eliminating Seam Puckering ↗
07
Verify the finished garment against its promise
Final checking should connect back to the specification. Review measurements, colour consistency, decoration, construction, cleanliness and the size labels. Decide how inspection results and exceptions will be recorded before goods are ready for dispatch. A checklist built from the actual order is more useful than a generic quality claim, because it tells both parties what evidence is expected.
Include a laundering assessment when the order depends on repeat wear. AATCC distinguishes fabric dimensional change testing from garment dimensional change testing; the finished article adds seams and trims to the material being evaluated. Request the conditions and results when testing is commissioned. Avoid treating a test name as a universal pass standard: the acceptance requirement must be agreed for the product, and the selected care conditions should reflect its intended use.
Further reading: AATCC: Standard Test Methods and Procedures ↗
08
Plan packing, receipt and the next order
Packing is part of making the order usable. Confirm whether cartons will be organised by branch, wearer, style or size. Agree what the packing list contains and who checks it at receipt. If a garment is missing or incorrectly labelled, staff need a simple way to report the problem while preserving the order reference and size information.
Keep the approved specification, artwork, size chart, sample identification and delivery record together for reorders. Document any material or colour differences proposed later instead of assuming a repeat purchase will be identical. When approaching Sungrace, a clothing business in Jalandhar, use the bulk enquiry route with this information. A complete brief makes the discussion concrete: the supplier can review the garment, the quantities and the approvals needed for the particular project.
Sources and further reading
Technical references used for this guide. Confirm the specification and testing appropriate to your garment and order.