Garment Manufacturing
Industrial Sewing and Seam Quality: What Uniform Buyers Should Inspect
Understand seam construction, puckering, stitch balance and practical sample checks before approving a uniform order.
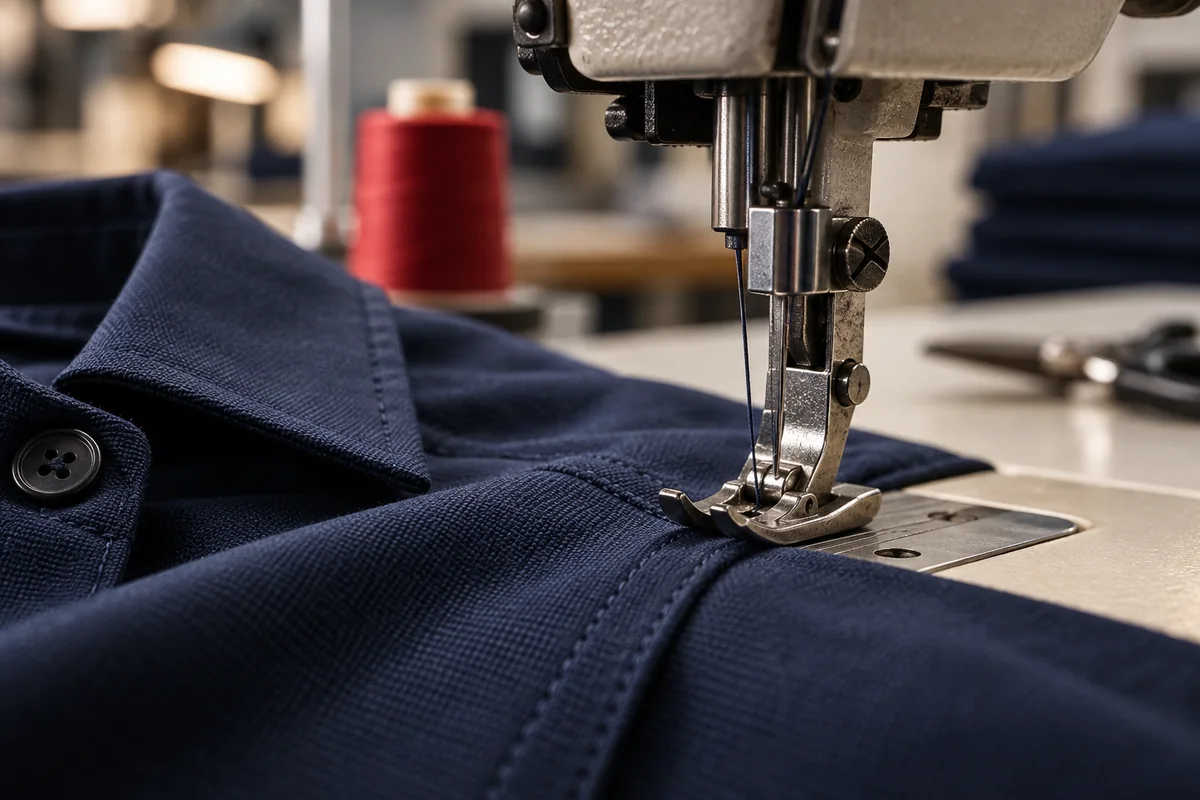
A uniform can look convincing on a hanger and still disappoint during a working day. The difference often appears where two pieces of cloth meet: an armhole that restricts movement, a pocket corner that opens, or a placket that becomes wavy after washing. Seam quality is therefore a practical purchasing question, especially when a team will wear the same garments repeatedly.
Buyers do not need to specify every sewing-machine setting. They need an agreed sample, a clear description of use, and a repeatable way to judge construction. This guide explains how to discuss industrial sewing with a supplier and how to separate an appearance concern from a problem that could affect serviceability.
01
Describe the job before judging the seam
Begin with the wearer's movements. A receptionist may spend much of the day seated, while a stockroom assistant reaches overhead and carries cartons. Ask representative employees to try the proposed garment while performing ordinary movements. Record where fabric pulls, where seams press against the body, and whether the hem rises excessively. Tightness can be a fit problem; adding stronger thread will not correct inadequate room.
Give the supplier a short use profile covering work, laundering and expected appearance. Coats identifies strength, appearance, stretch, bulk and softness as relevant seam considerations. Use those dimensions to discuss tradeoffs. A visibly substantial seam is not automatically the most comfortable choice, and a discreet seam should still be appropriate for the garment's intended movement.
Further reading: Coats: Soft and Secure Seams ↗
02
Distinguish the seam from the stitch
The seam is the arrangement that joins or finishes fabric; the stitch is the thread formation used to make it. Asking only for double stitching leaves important details unspecified. Request a close view of the inside and outside of the approved garment, then identify which construction should be repeated at shoulders, sides, sleeves and hems.
For purchasing purposes, a labelled photograph can communicate more effectively than an unfamiliar technical code. Include the garment style and exact seam location in the reference. Keep the photographed sample available during approval so the supplier can explain any difference between the proposed construction and the reference. If an alternative is offered, ask what practical benefit it provides and inspect a sewn example before accepting the change.
Further reading: Coats: Seam Types ↗
03
Look for consistent stitching and clean joins
Inspect the garment in ordinary light on a flat surface, then turn it inside out. Look for visibly skipped stitches, loose loops, unfinished ends and abrupt changes along a continuous seam. Follow a seam through intersections rather than inspecting only its easiest straight section. Pocket openings, placket bases and sleeve joins deserve deliberate attention because a neat central panel can distract from poor finishing elsewhere.
Photograph concerns with a scale or familiar reference object, and identify the location precisely. Describe what is visible rather than prescribing an instant repair. Coats' troubleshooting guidance associates irregular stitch density with fabric feeding problems, and discusses thread balance and tension when investigating puckering. The supplier should establish the cause and show the corrected result on the relevant material.
Further reading: Coats: Solutions to Sewing Problems ↗
04
Treat puckering as a diagnosis, not a verdict
Puckering describes unwanted gathering beside a seam. Several mechanisms can produce a similar appearance: thread tension, unequal feeding of fabric layers, crowding of threads within the fabric, or differing dimensional changes during washing. Coats explains that more than one cause can be present. A smooth freshly pressed sample consequently deserves another look after the agreed care treatment.
Avoid demanding extra stitches as a universal remedy. On a susceptible material, additional needle penetrations can worsen distortion. The useful question is whether the supplier can produce a seam that stays acceptable under the conditions you specify. Mark the affected area, retain before-and-after photographs and compare a revised sample with the original. Keep destructive diagnostic work with the technician rather than cutting threads in the only approval sample.
Further reading: Coats: Eliminating Seam Puckering ↗
05
Inspect movement, touch and vulnerable areas
Run a hand gently along the inside seam to assess roughness and bulky intersections. Wear the sample for a realistic trial period if possible, especially where an armhole or collar contacts skin. A quick try-on can miss irritation that appears after repeated movement. Separate observations about stitching from preferences about fit, fabric weight and styling so the requested correction is unambiguous.
A hypothetical facilities team might approve a polo while standing, then notice tightness when reaching for a high shelf. The appropriate review would include garment size and armhole shape alongside the seam. It would be premature to conclude that every unit needs heavier stitching. Ask the supplier to propose a revised sample, repeat the movement check and document what changed before releasing the order.
06
Recheck the sewn garment after laundering
Agree on a wash-and-dry trial that reflects the care instructions and the team's likely routine. Keep one comparable garment unwashed as a reference. After the trial, examine the same seam locations for waviness, opening, twisting and uncomfortable stiffness. Measure key garment dimensions separately; a smaller garment can put greater strain on seams even if the thread itself remains intact.
For formal assessment, request a named test method and a report tied to the submitted sample. AATCC TM150 addresses garment dimensional changes under defined home laundering procedures. It does not by itself certify seam strength or every aspect of garment quality. Distinguish your practical wear trial from laboratory testing, and specify any additional evidence that the particular contract requires.
Further reading: AATCC TM150: Dimensional Changes of Garments after Home Laundering ↗
- 01Define use
Record movement, care and appearance needs.
- 02Inspect sample
Review the same seam locations inside and out.
- 03Wear and wash
Follow the agreed trial and care procedure.
- 04Record concerns
Identify location, photograph and required outcome.
- 05Approve revision
Retain the corrected sample as the reference.
07
Turn observations into an approval record
A useful approval record contains the style, size, colour, sample date and clear photographs of important seams. Add concise acceptance notes, such as the agreed appearance at the placket or the finish inside the armhole. Avoid vague instructions like best quality. If there is an agreed measurement tolerance or testing requirement, include it in the same document rather than leaving it buried in a message thread.
When inspecting the delivered order, compare like sizes and styles against this reference. Set aside questionable garments and record the quantity affected. Ask whether the concern is isolated or likely to recur across the batch. Agree on correction and reinspection before distribution; checking a repair on one garment does not establish that every affected garment has been addressed.
08
Bring a concrete sample brief to the supplier
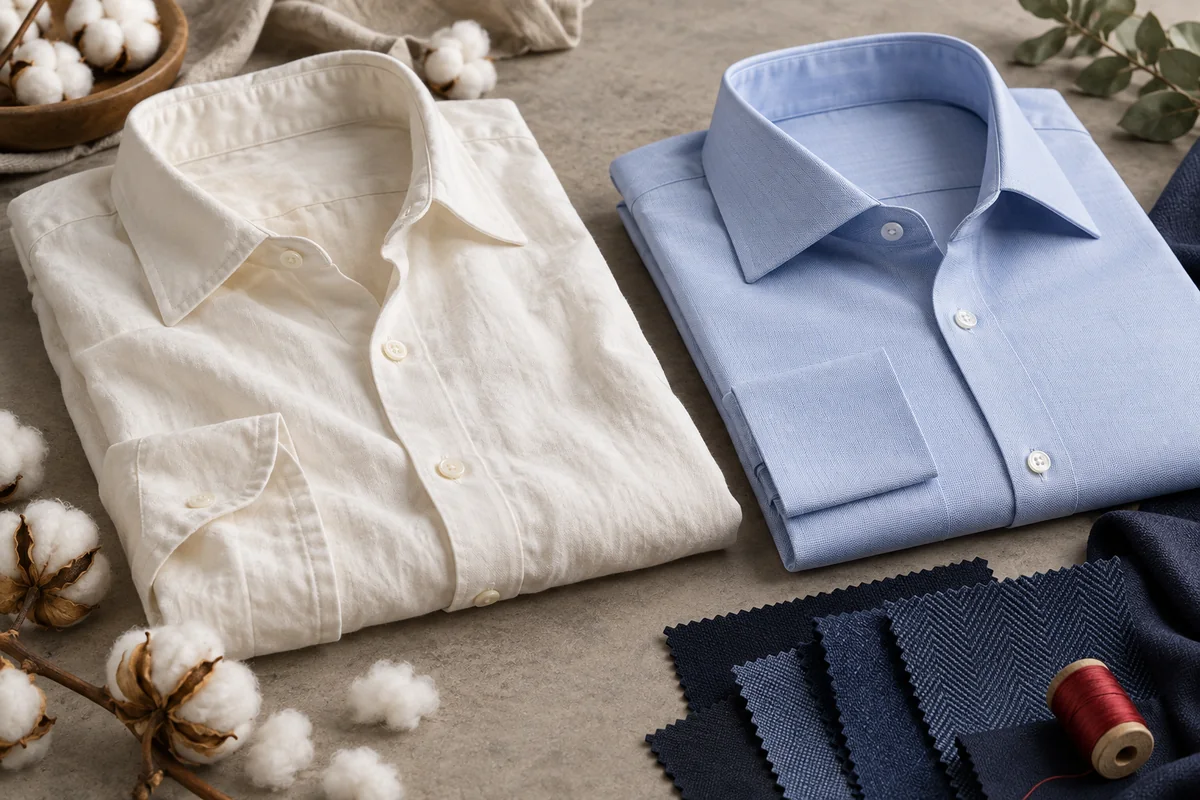
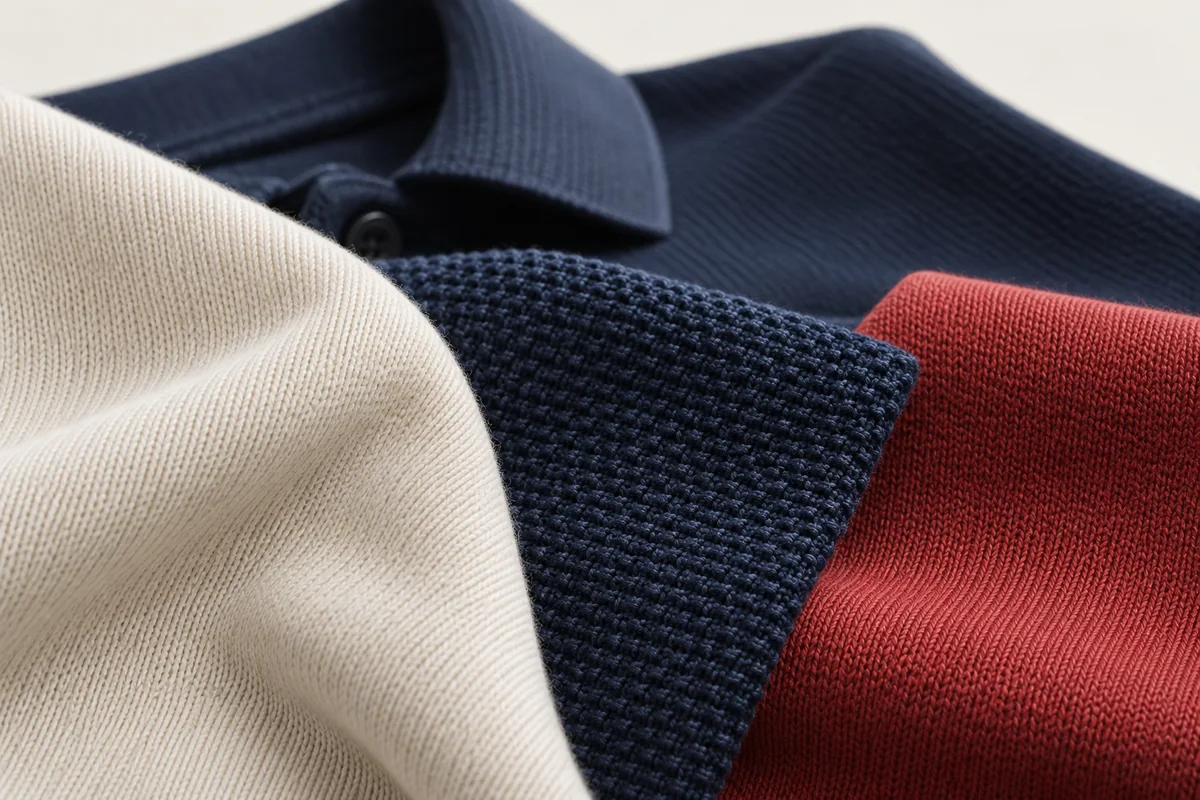
For a Sungrace enquiry, start with the product you need and explain how the team will use it. The corporate formal shirt and corporate matty polo provide useful starting points for different uniform briefs. Share the size breakdown, requested branding, deadline and any seam concerns from a previous order through the bulk enquiry page.
Ask which sample can be reviewed and which construction details will be retained for repeat purchases. A modest order still benefits from a specific approval record. The strongest purchasing decision is one you can explain through observed fit, seam appearance, care performance and an agreed correction process.
Sources and further reading
Technical references used for this guide. Confirm the specification and testing appropriate to your garment and order.