Quality & Testing
Garment Quality Control: Measurements, Sampling and Defect Handling
Build a practical uniform inspection plan with measurement references, clear defect records and a sensible acceptance process.

Quality control becomes much easier when a buyer and supplier agree what they are checking before the garments arrive. A delivery can contain the correct total quantity yet still have the wrong size mix, a misplaced logo or a measurement that differs from the approved sample. Each issue needs a specific check and a clear response.
For corporate uniforms, the most useful inspection plan connects the purchase order, a physical reference and recorded measurements. It should also explain who can approve a correction or release a held batch. The following workflow is designed to help a purchasing coordinator ask better questions and organise evidence without pretending that a quick visual check replaces laboratory testing.
01
Establish the reference before production
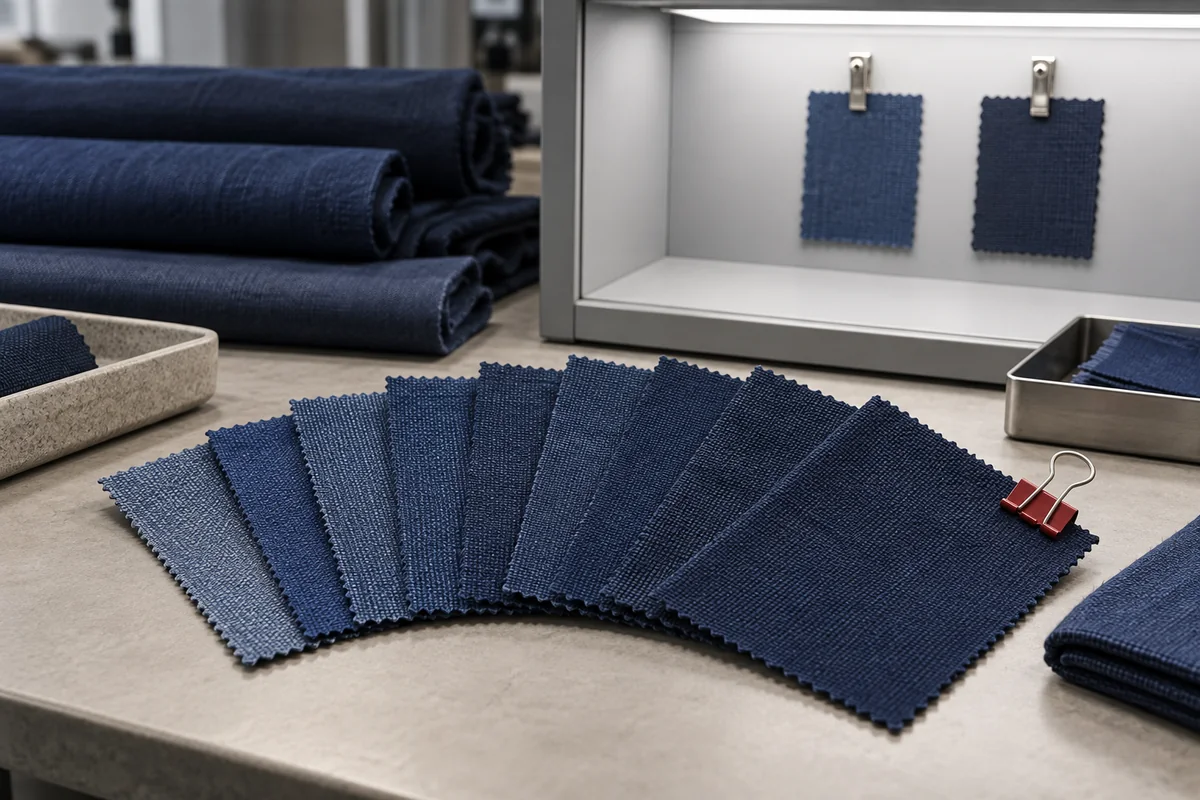
Create one reference pack for each garment style. Include the approved sample identifier, product colour, size chart, branding version and order quantity by size. Where a feature matters, show it in a photograph or drawing. Identify the exact document version that the supplier should follow, especially if several people have exchanged revised artwork or changed the size allocation.
Agree how deviations will be assessed before delivery. A tolerance is an allowed variation around a specified measurement, so both the target and the allowance must be recorded. Do not import a tolerance from an unrelated garment simply because it appears in a generic checklist. Ask the supplier to confirm what is suitable for the particular construction, fit and method of measurement.
02
Make each measurement repeatable
List the points of measurement and describe their start and end points. Chest width, body length and sleeve length require more precision than their names alone provide. Specify whether a width is measured flat or represents a circumference, whether buttons are fastened, and how the garment is arranged. A simple annotated drawing helps two people take the same measurement.
Place the garment on a stable surface and follow the agreed method without stretching it to achieve the target. Record the actual reading rather than writing only pass. If the result appears outside tolerance, repeat it with the same method and check the reference before raising the issue. Keep body measurements and finished garment measurements in separate fields; confusing them can make an otherwise correct order appear wrong.
03
Choose an inspection approach that fits the order
NIST describes acceptance sampling as using a random sample to decide whether to accept or reject a lot. It occupies a position between no inspection and checking every item. This means a sampled inspection is a decision process for a defined batch; it is not proof that every garment is free from defects.
For a small uniform delivery, checking every garment for identity, size label, visible damage and decoration may be practical. More extensive measurement or testing can follow a separately agreed plan. For larger lots, request the named sampling scheme, lot definition, sample size and acceptance rules in writing. Avoid choosing only the most accessible garments from the top of one carton. The selection method should give a fair view of the batch.
Further reading: NIST: What Is Acceptance Sampling? ↗
04
Understand what the acceptance rule actually says
A sampling plan needs more than an unexplained AQL number. NIST describes single sampling plans using a sample size and an acceptance number, while other plans allow further samples before a decision. Ask the inspection provider to explain the plan being used and how it applies to your lot. Keep the recorded observations separate from the final acceptance decision.
Do not interpret an agreed sampling threshold as permission to knowingly ship defective garments. It is a rule for evaluating the sampled evidence under a specified plan. Your order should still state the expected product requirements and the handling of identified defects. If a supplier presents a report, check the lot quantity, style, sample selection and report date before assuming it covers the delivery in front of you.
Further reading: NIST: Types of Lot Acceptance Sampling Plans ↗
05
Classify defects and capture useful evidence
Define defect categories with examples relevant to the order. A potentially hazardous sharp object, an open seam that compromises use, and a removable loose thread demand different responses. Do not rely on category names alone; agree who assigns severity and which findings require immediate hold. Your checklist should make that decision understandable to another coordinator reviewing the record later.
Give every finding an identifier and record the garment style, size, colour, carton and location of the issue. Photograph both a close view and enough of the garment to establish context. Count affected garments and note multiple defects on the same item separately, following the agreed reporting method. Place held items in a clearly separated area so they are not accidentally distributed with accepted stock.
06
Separate inspection from performance testing
Visual inspection can reveal a crooked placket or missing button, but it cannot establish every property a wearer may need. Decide which performance questions matter before ordering: dimensional stability after care, colourfastness or another specified requirement. Request tests that answer those questions and confirm the material or garment represented by each submitted sample.
AATCC distinguishes methods for garment dimensional change, apparel appearance after laundering and several colourfastness properties. That distinction matters when reading a report. A dimensional-change result does not establish resistance to colour transfer. Check the method, conditions, sample identification and agreed acceptance criteria. For an ordinary in-house wash trial, document the actual procedure and observations without describing it as a formal standard test.
Further reading: AATCC: Standard Test Methods and Procedures ↗
07
Close the loop on correction and reinspection
When a defect is confirmed, agree whether the proposed action is repair, replacement or another expressly accepted resolution. Set a quantity, responsible contact and review date. A promise to fix the order is less useful than a record identifying which garments are affected and how they will be returned to the acceptance process.
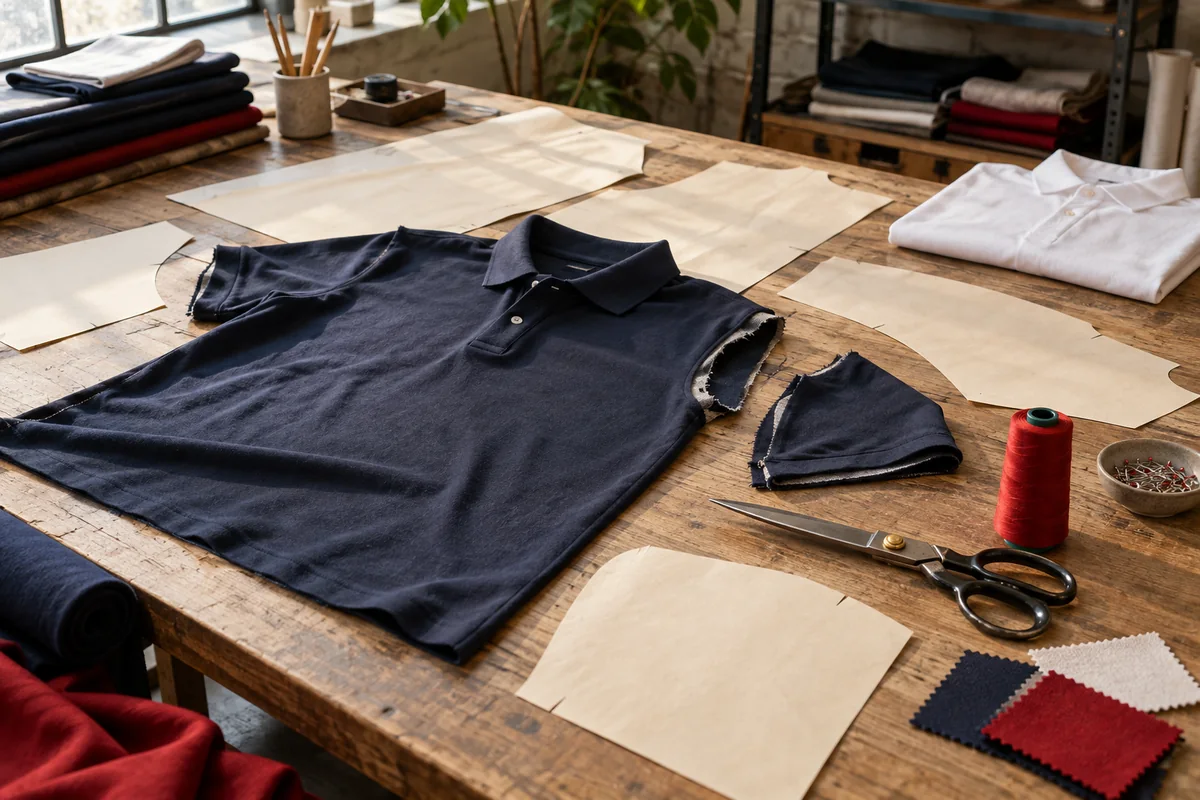
In a hypothetical order of forty polos, suppose three inspected garments show the same misplaced emblem. The coordinator should ask whether the position was set incorrectly for a wider group, then agree the extent of further checking. Inspect the corrected garments against the original placement reference. Keep the earlier finding attached to the resolution so a repeat order does not inherit the same uncorrected instruction.
- 01Set reference
Approve style, measurements and decoration.
- 02Inspect
Follow the agreed selection and checking plan.
- 03Record
Identify defects, quantities and evidence.
- 04Correct
Agree repair or replacement for held items.
- 05Reinspect
Verify the outcome before release.
08
Use the results to improve the next purchase
Before issuing uniforms, reconcile accepted quantities against the required size mix and delivery locations. Record any remaining shortage separately from quality findings. Keep a concise summary of recurring issues, accepted corrections and changed instructions so the next purchasing coordinator can understand what happened without reconstructing an entire message history.
For a Sungrace order, share the product selection, size breakdown and any inspection requirements through the bulk enquiry page. Bring examples of previous fit or finishing concerns if available. A clear reference pack allows the discussion to focus on the outcome your team needs and makes the delivered order easier to assess fairly.
Sources and further reading
Technical references used for this guide. Confirm the specification and testing appropriate to your garment and order.